Showing posts with label tutorial. Show all posts

chicken okonomiyaki happiness ♥ (aka Japanese Pancakes)

Monday, June 6, 2011

Who here loves okonomiyaki?

For those who are staring blankly at their screen – it's a Japanese pancake J

I must admit I absolutely okonomiyaki, particularly seafood okonomiyaki. I thought I'd make my own, but since the mister at home doesn't really do seafood I'd try a chicken version. After searching online for a recepie and also looking at the one at the back of my okonomi sauce bottle, I saw there were just soooooo many different ways of creating this dish.

Here's my take on chicken okonomiyaki J


(serves 4)
Ingredients:

Pancake mixture:
1 ½ cups self raising flour
1 sachet dashi
1 cup water
6 leaves Chinese cabbage – shredded
 2 shallots – finely chopped
½ BBQ chicken – shredded

To serve:
Okonomi sauce
Japanese mayonnaise
Bonito flakes

 Method:
1)      Dissolve the dashi in the water
2)      Sift the flour into a mixing bowl
3)      Add dashi, water and eggs to flour – mix well to form a smooth batter
4)      Add cabbage, shallots and chicken – mix well
5)      Spoon approx 2 ladles of mixture onto a frypan
6)      Fry over a low heat until bottom of pancake browns


7)      Carefully flip over and cook until both sides are brown
8)      Serve with a line of Japanese mayonnaise and okonomi sauce squirted on top and bonito flakes


9)      Enjoy! J


If you're wondering what on earth, dashi, okonomi sauce, Japanese mayonnaise or bonito flakes look like? Here's what they look like. You can find them at specialty Japanese grocery stores such as Tokyo Mart  (Northbridge Palza - http://www.northbridgeplaza.com.au/) or the Japanese foods section of large Asian grocery stores and some supermarkets.

Dashi
Okonomi Sauce
Japanese Mayonnaise 

Bonito Flakes


recycled magazine necklace

Friday, November 19, 2010

I have far too many magazines lying about the place. Surely there is a use for them rather than sending them to the recycle bin. As my first love is jewellery I decided to try and make a pendant necklace using a magazine


------------------------------------------------------------------------------------------------------------

here's what you will need:

1 magazine
Sticky tape (or glue)
Scissors or craft knife/craft mat
Ruler (optional)

------------------------------------------------------------------------------------------------------------


instructions:

Rip 5 to 6 pages out of a magazine


Trim off jagged edge of the magazine sheets with a craft knife (or scissors)


Fold sheet in half and cut (lengthways)


Fold sheet in half length ways – repeat two more times


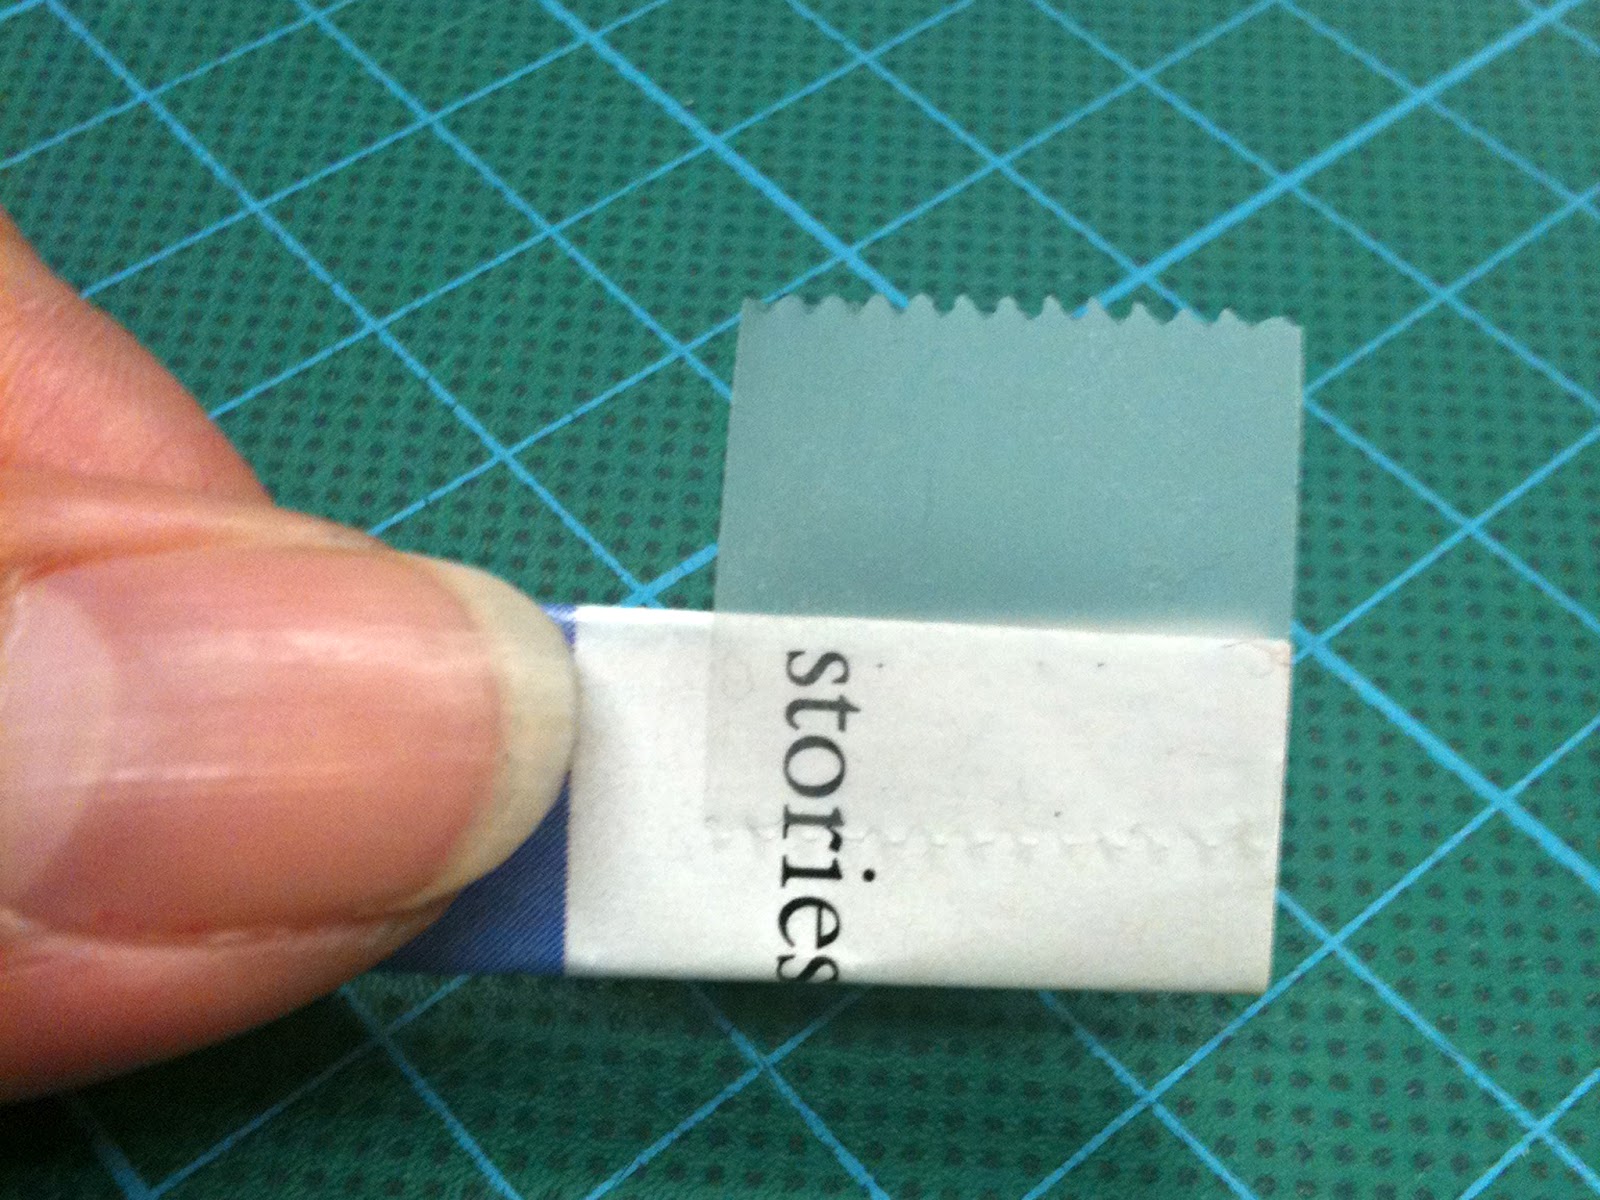
Fasten with sticky tape (or glue)
Repeat process with each magazine strip


Join strips together to create one long strip using sticky tape or glue


Get a pencil, chopstick, or any other stick that you can find. Wrap the long strip around the pencil moderately tight. Secure with tape or glue at the end. Remove pencil


You can choose to keep the pendant in the round shape, or bend it to a particular shape
Insert string (I used several strands of wool) and voilĂ 


TUTORIAL: no sew tutu

Wednesday, October 27, 2010


items you will need:


1.5 to 2m polyester netting (or tulle if you want to spend the extra $$)
you can have multiple colours to your tutu, just be sure to have a min 1.5m all up of fabric


scissors


elastic

Step 1

measure your waist (or the waist of the person who's lucky enough to have a tutu made for them)
cut the elastic to fit comfortably (and without the fear of the tutu falling down)

Step 2

secure the ends of you elastic. 
I chose to use my sewing machine to sew the ends, it's your choice to sew it or to fasten it with a pin, or even just knot it securely


Step 3

cut your netting into approx 20-30cm wide strips

Step 4

place elastic around a chair or another structure that will hold the elastic taut

Step 5

fold strip of netting in half and loop through elastic


Step 6


continue adding strips of netting to the elastic until the entire length of the elastic is covered

VoilĂ  


the finished tutu
^_^